
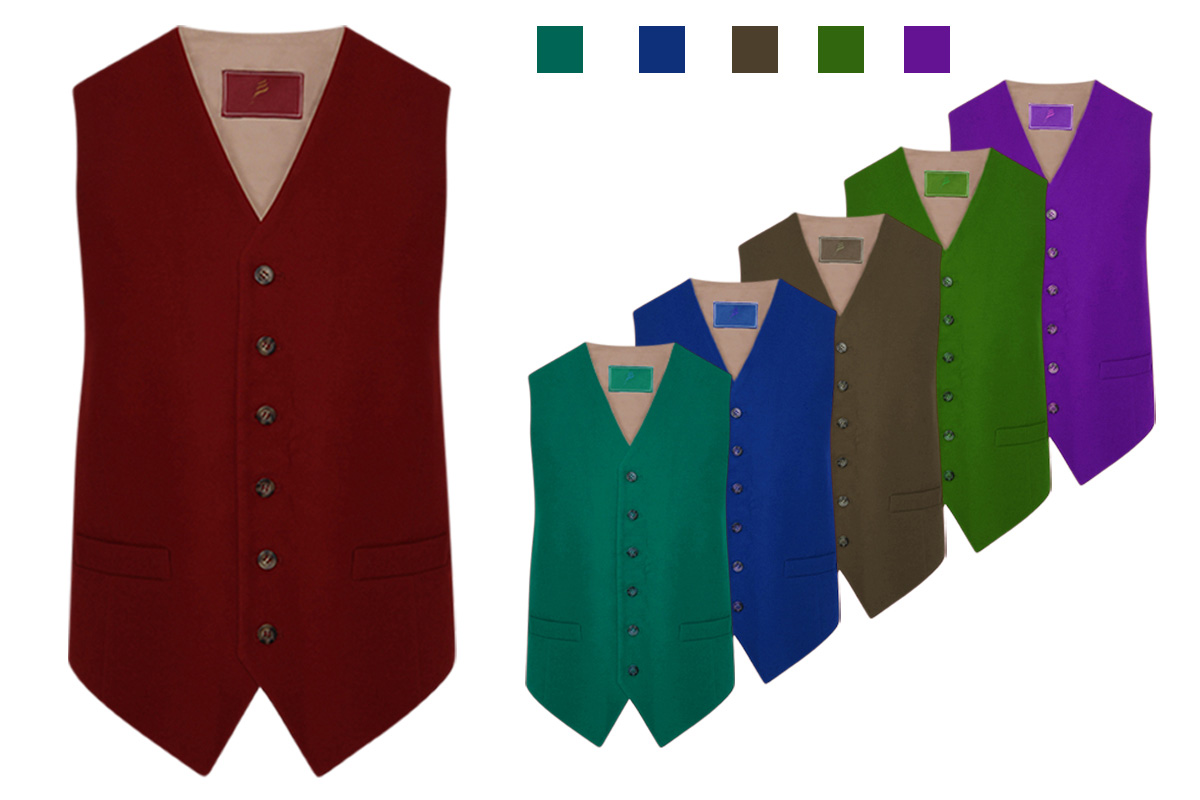
How to Change the Color of Clothing in Photoshop?
Color changing or replacing some part of an image Color Correction Color Correction Service. It is an integral part of Photoshop. Color correction services are used for many purposes in many aspects. Mainly, It has become popular in Photography and E-commerce. If are you a product photographer. Do you have a vast collection of the same category and different color products? there is a simple way to avoid shooting all the photos of the same category of multiple color products.it is very easy to change the color. if you need color change of your product see our price.
Here are the steps to follow:
1. Open the image in Photoshop and select the clothing you want to change the color of using the “Lasso” or “Magic Wand” tool.
2. Once you have selected the clothing, create a new layer by clicking on the “New Layer” button at the bottom of the Layers panel.
3. In the “Layers” panel, select the new layer you just created.
4. Click on the “Paint Bucket” tool and select the color you want to use for the clothing.
5. Click on the selected area of the clothing on the new layer using the “Paint Bucket” tool. This will fill the selected area with the new color.
6. Adjust the opacity of the new layer to blend the new color with the original color of the clothing. You can do this by using the opacity slider in the Layers panel.
Finally, save the image as a new file by selecting “File” > “Save As” and choosing a new file name and file format. You have successfully changed the color of clothing in Photoshop.
Clipping Wave are Providing color correction service. If you need color correction service please contact us.

No Comments